Submit JSON with Zapier
⚡️ Zapier is available on all paid plans
1. Connect to Zapier
You can find the Zapier integration in an endpoint's settings, your integrations page, or right below this sentence. Click the "Integrate with Zapier" button to make the connection.
When prompted, click "Accept Invite & Build a Zap"
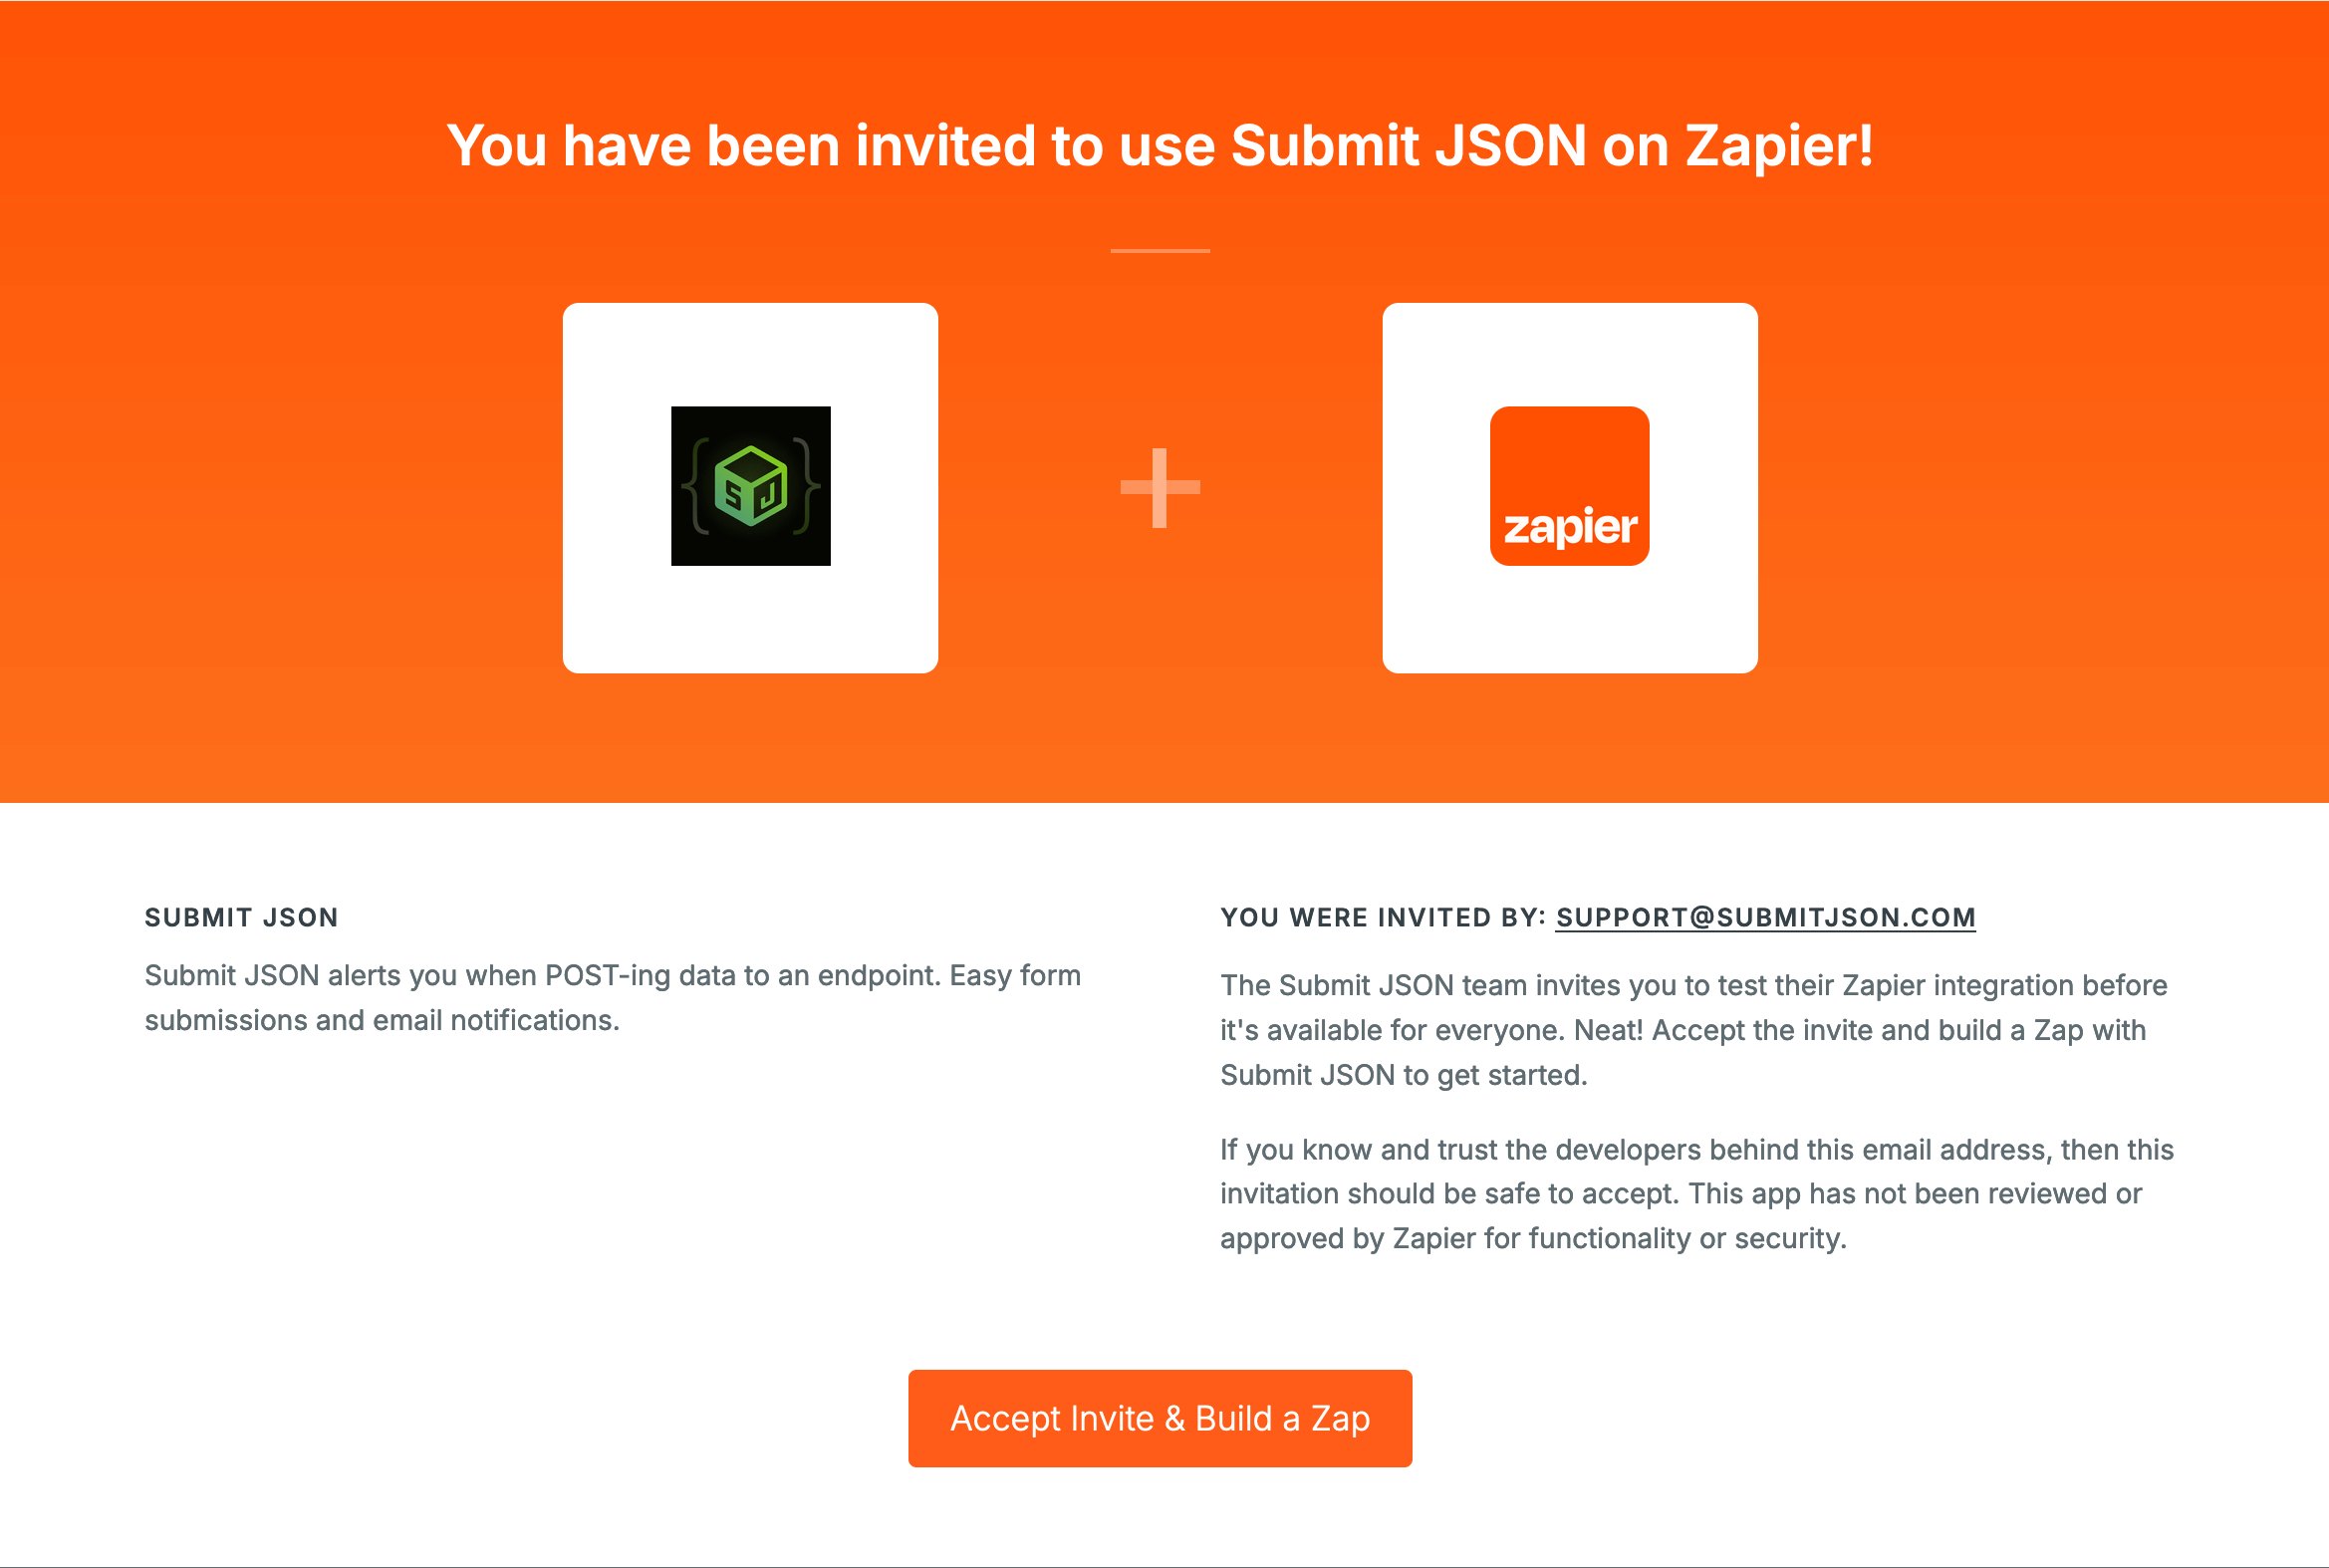
Now your Zapier account has access to the Submit JSON integration 🙂
2. Make a Zap
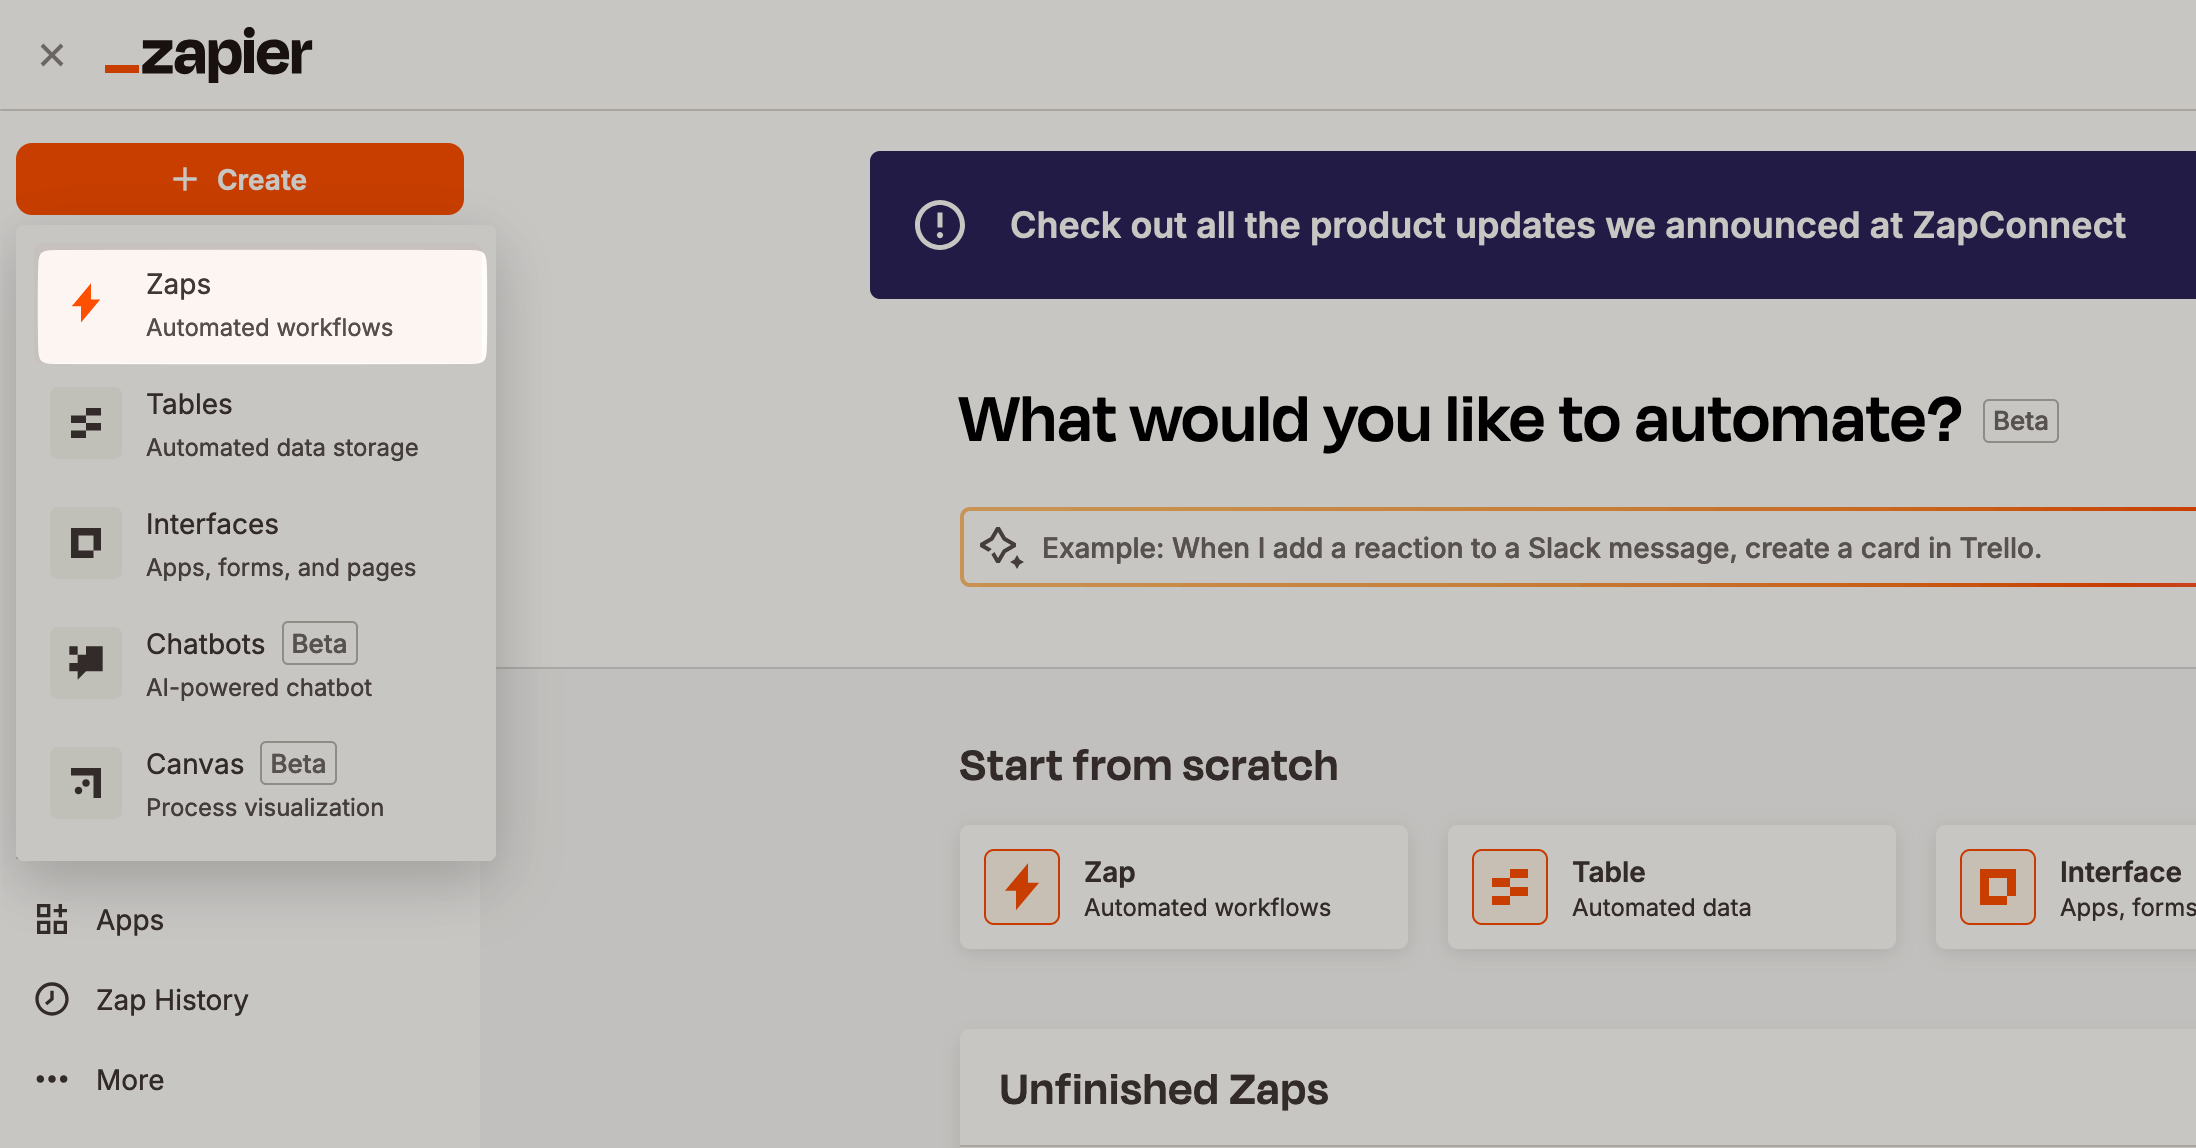
On Zapier click the + Create button in your sidebar, then select Zaps.
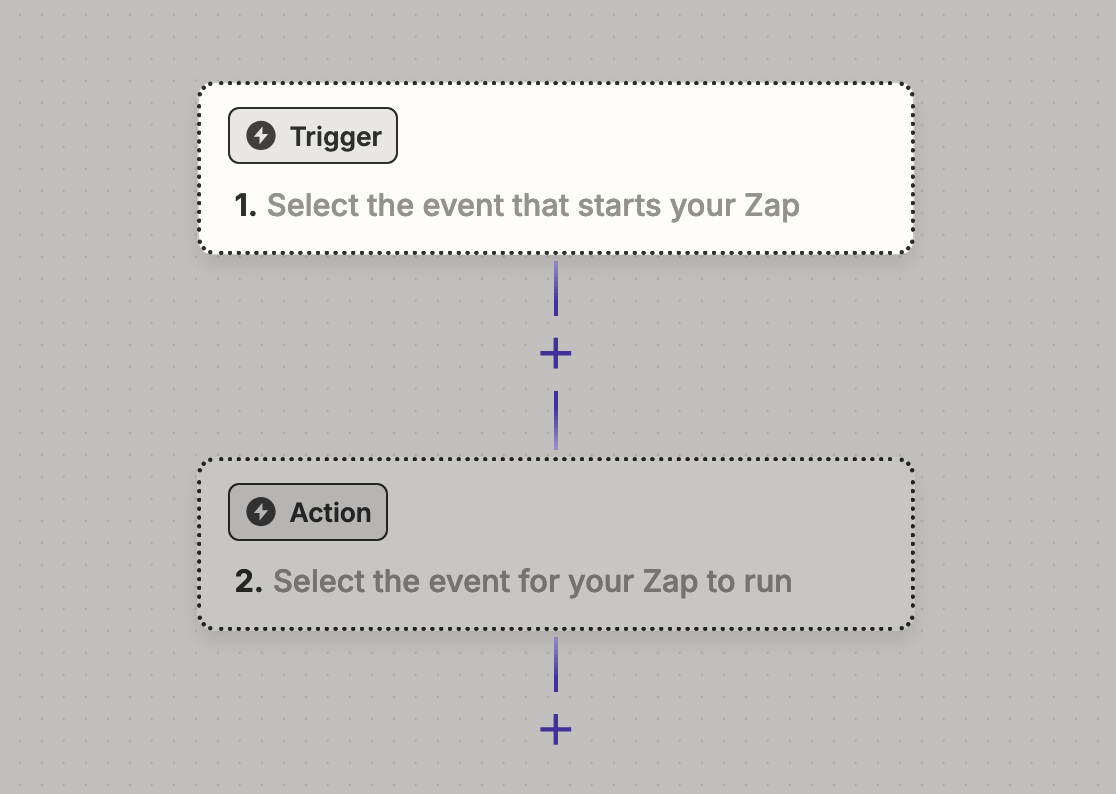
A Zap is made up of a trigger and an action. A trigger is an event that starts a Zap; for Submit JSON, the trigger event is a new submission.
3. Create a trigger
Click on 1. Trigger to start creating your automation trigger.
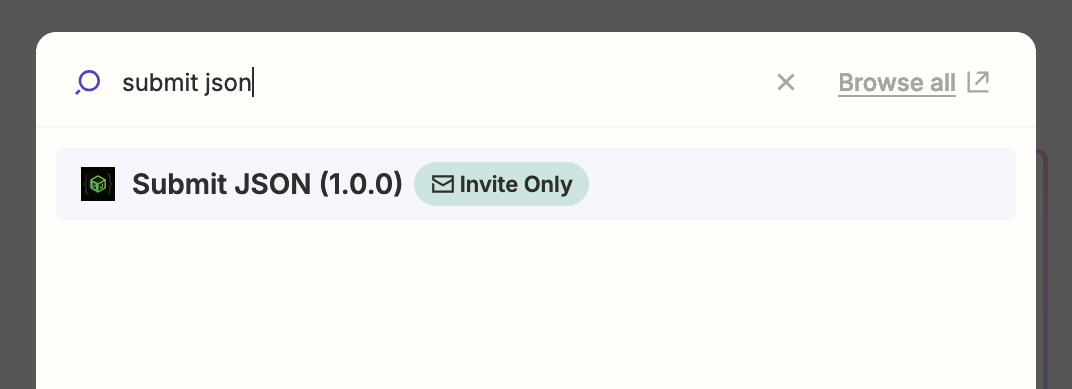
Then search for "Submit JSON" and select it from the results.
In the trigger event section, make sure to select New Submission as the event.
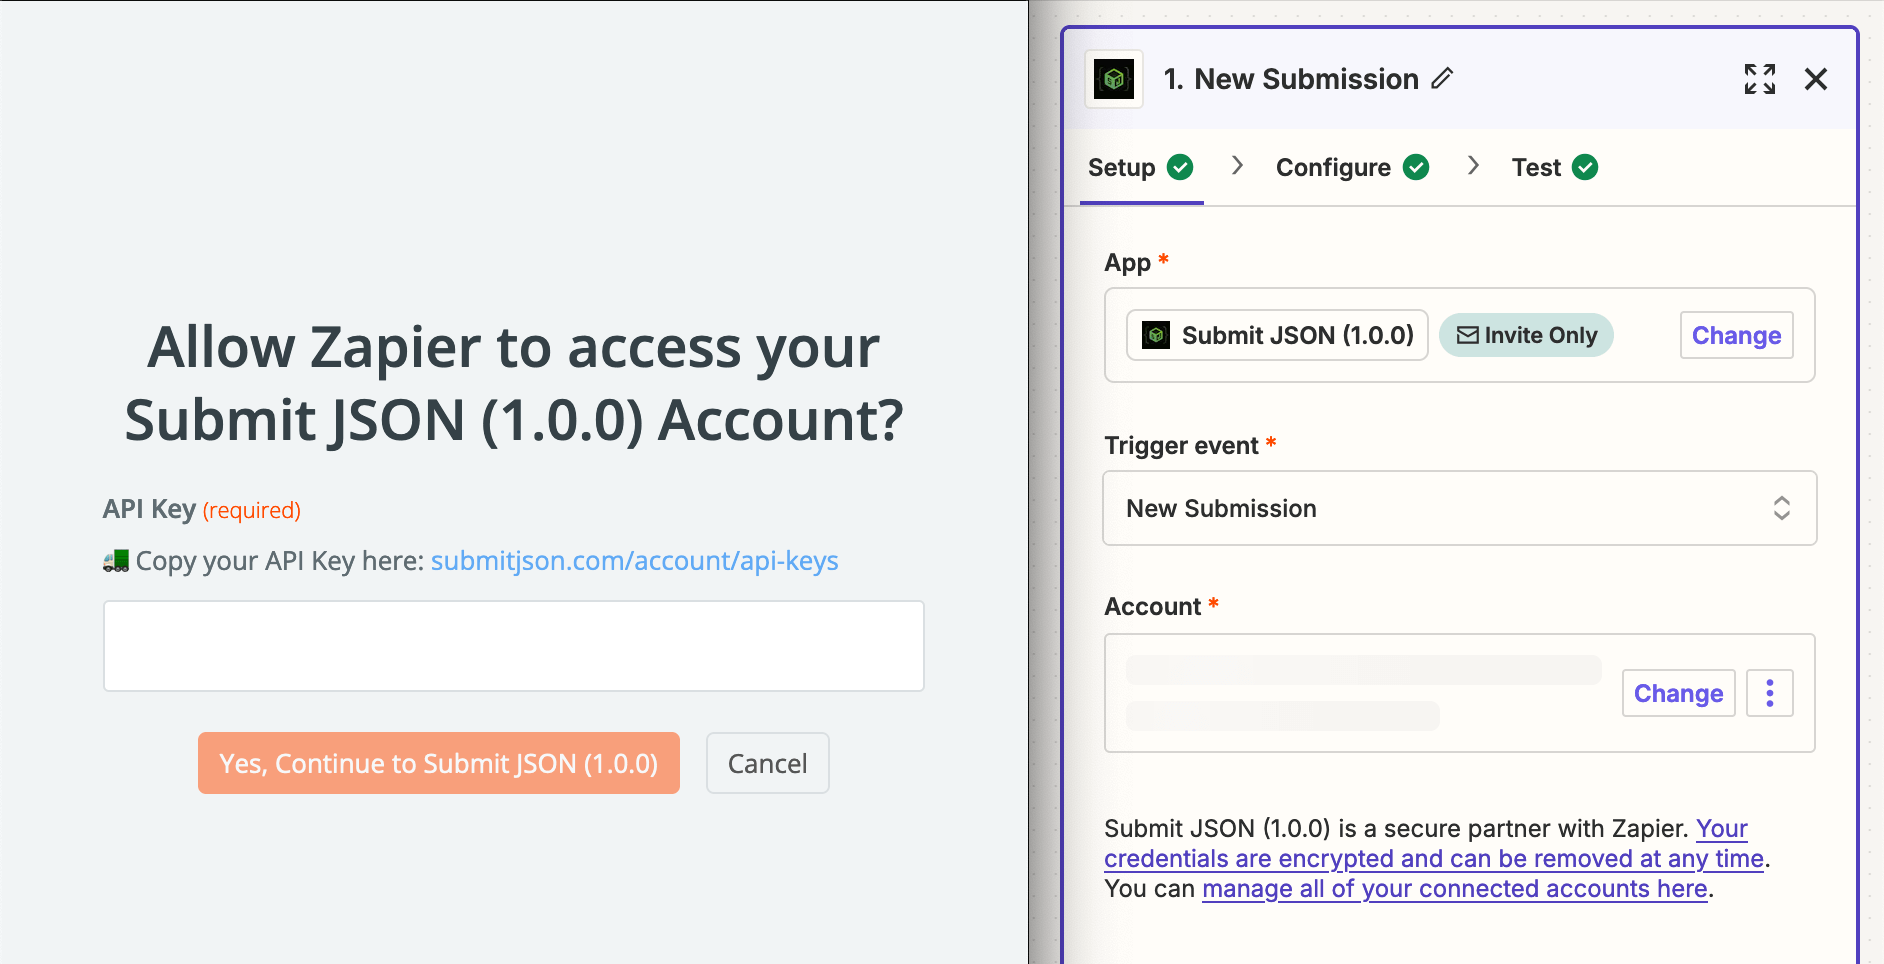
In the Account section click "Sign In", then you’ll be prompted to enter your API key.
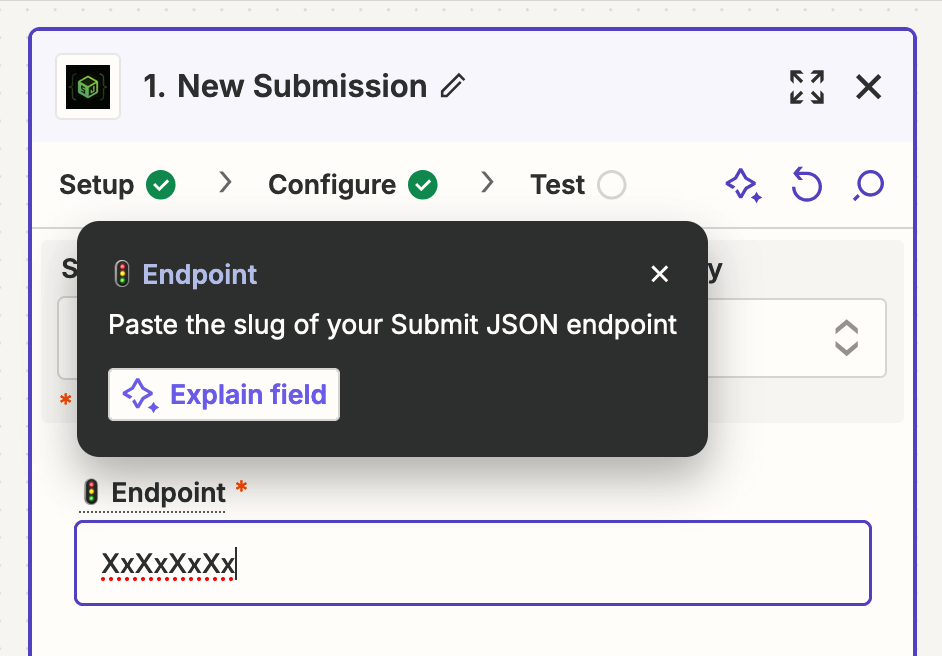
On the "Configure" step, paste in the slug of the endpoint that the trigger will listen to.
Finally in the "Test" step, you can test the trigger. If the endpoint has existing submissions it will pull the most 3 recent ones.
4. Choose an action
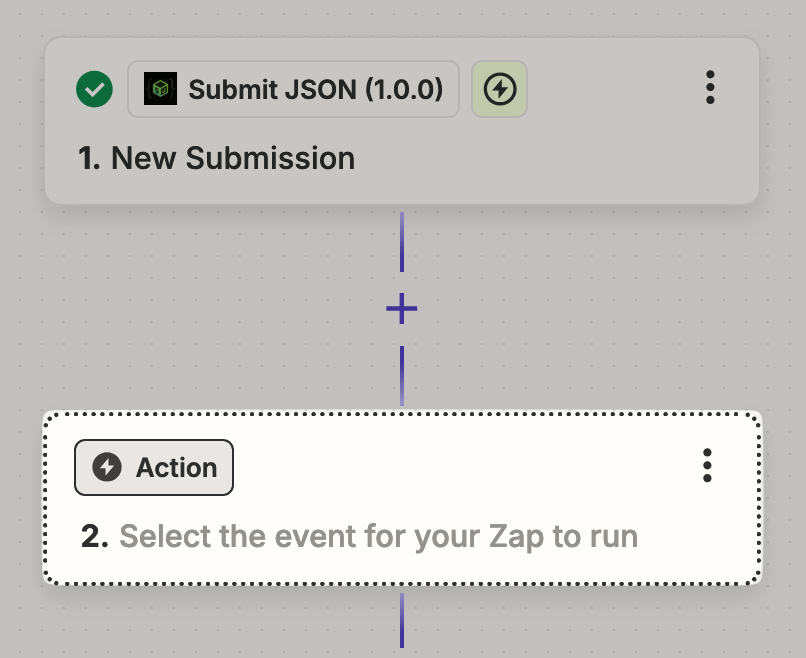
Now, you’ll have to add an action — an event a Zap performs after it's triggered, like adding a new record to Notion or Airtable for example.
Choose the action app you want to connect with and connect your account. If you already have an account connected to Zapier for the action app, select it from the account menu.
5. Customize action
Next, customize the data that you want to send over to your action app. In this step, you'll see dropdown menus and/or form fields to map & fill in. Click Continue when you’re ready.
⚠️ Zapier’s free plan is limited to two-step Zaps. If you want to add multiple steps, you’ll have to upgrade to a paid plan.
6. Test the action
The final step is to see if your action works as expected. In the Test section, click Test step to run the action step.
The next screen will show you whether or not Zapier has been able to successfully perform the action step for you.
7. Sit back and relax
The world (of Zapier) is now your oyster. Automate away! ⚡️
